How to Take Photos At Night.
Couple of years back or even a year back, I always had trouble taking clean and crisp photos at night. As a result I did a lot of research on how to make those photos better and better. I guess I was tired of looking at other people’s work being all clean and nice and mine being all muddy, noise and kinda messy to be honest.
With a lot of practice and consistently learning more about it, I’ve learnt quite a few things and I thought I would share a couple of tips on how to take photos at night :
Slow Down
When you shoot at night you generally want to work with lower shutter speeds. This means that if you move fast or don’t stop at all when you are taking a shot, it will likely turn out blurry. There are couple of ways to get good shots in these situations. For example, you can work on your breathing so that there’s less movement in your body and therefor a more stable camera. Also you can use a 2 second self timer for taking photos. This will definitely remove movement from you pressing the shutter.
Another benefit when you slow down is that you get to be more present in the moment, more analytical and compose better. My advice would be, if you see anything, stop, take your time, compose your photograph, check your setting and go for the kill.
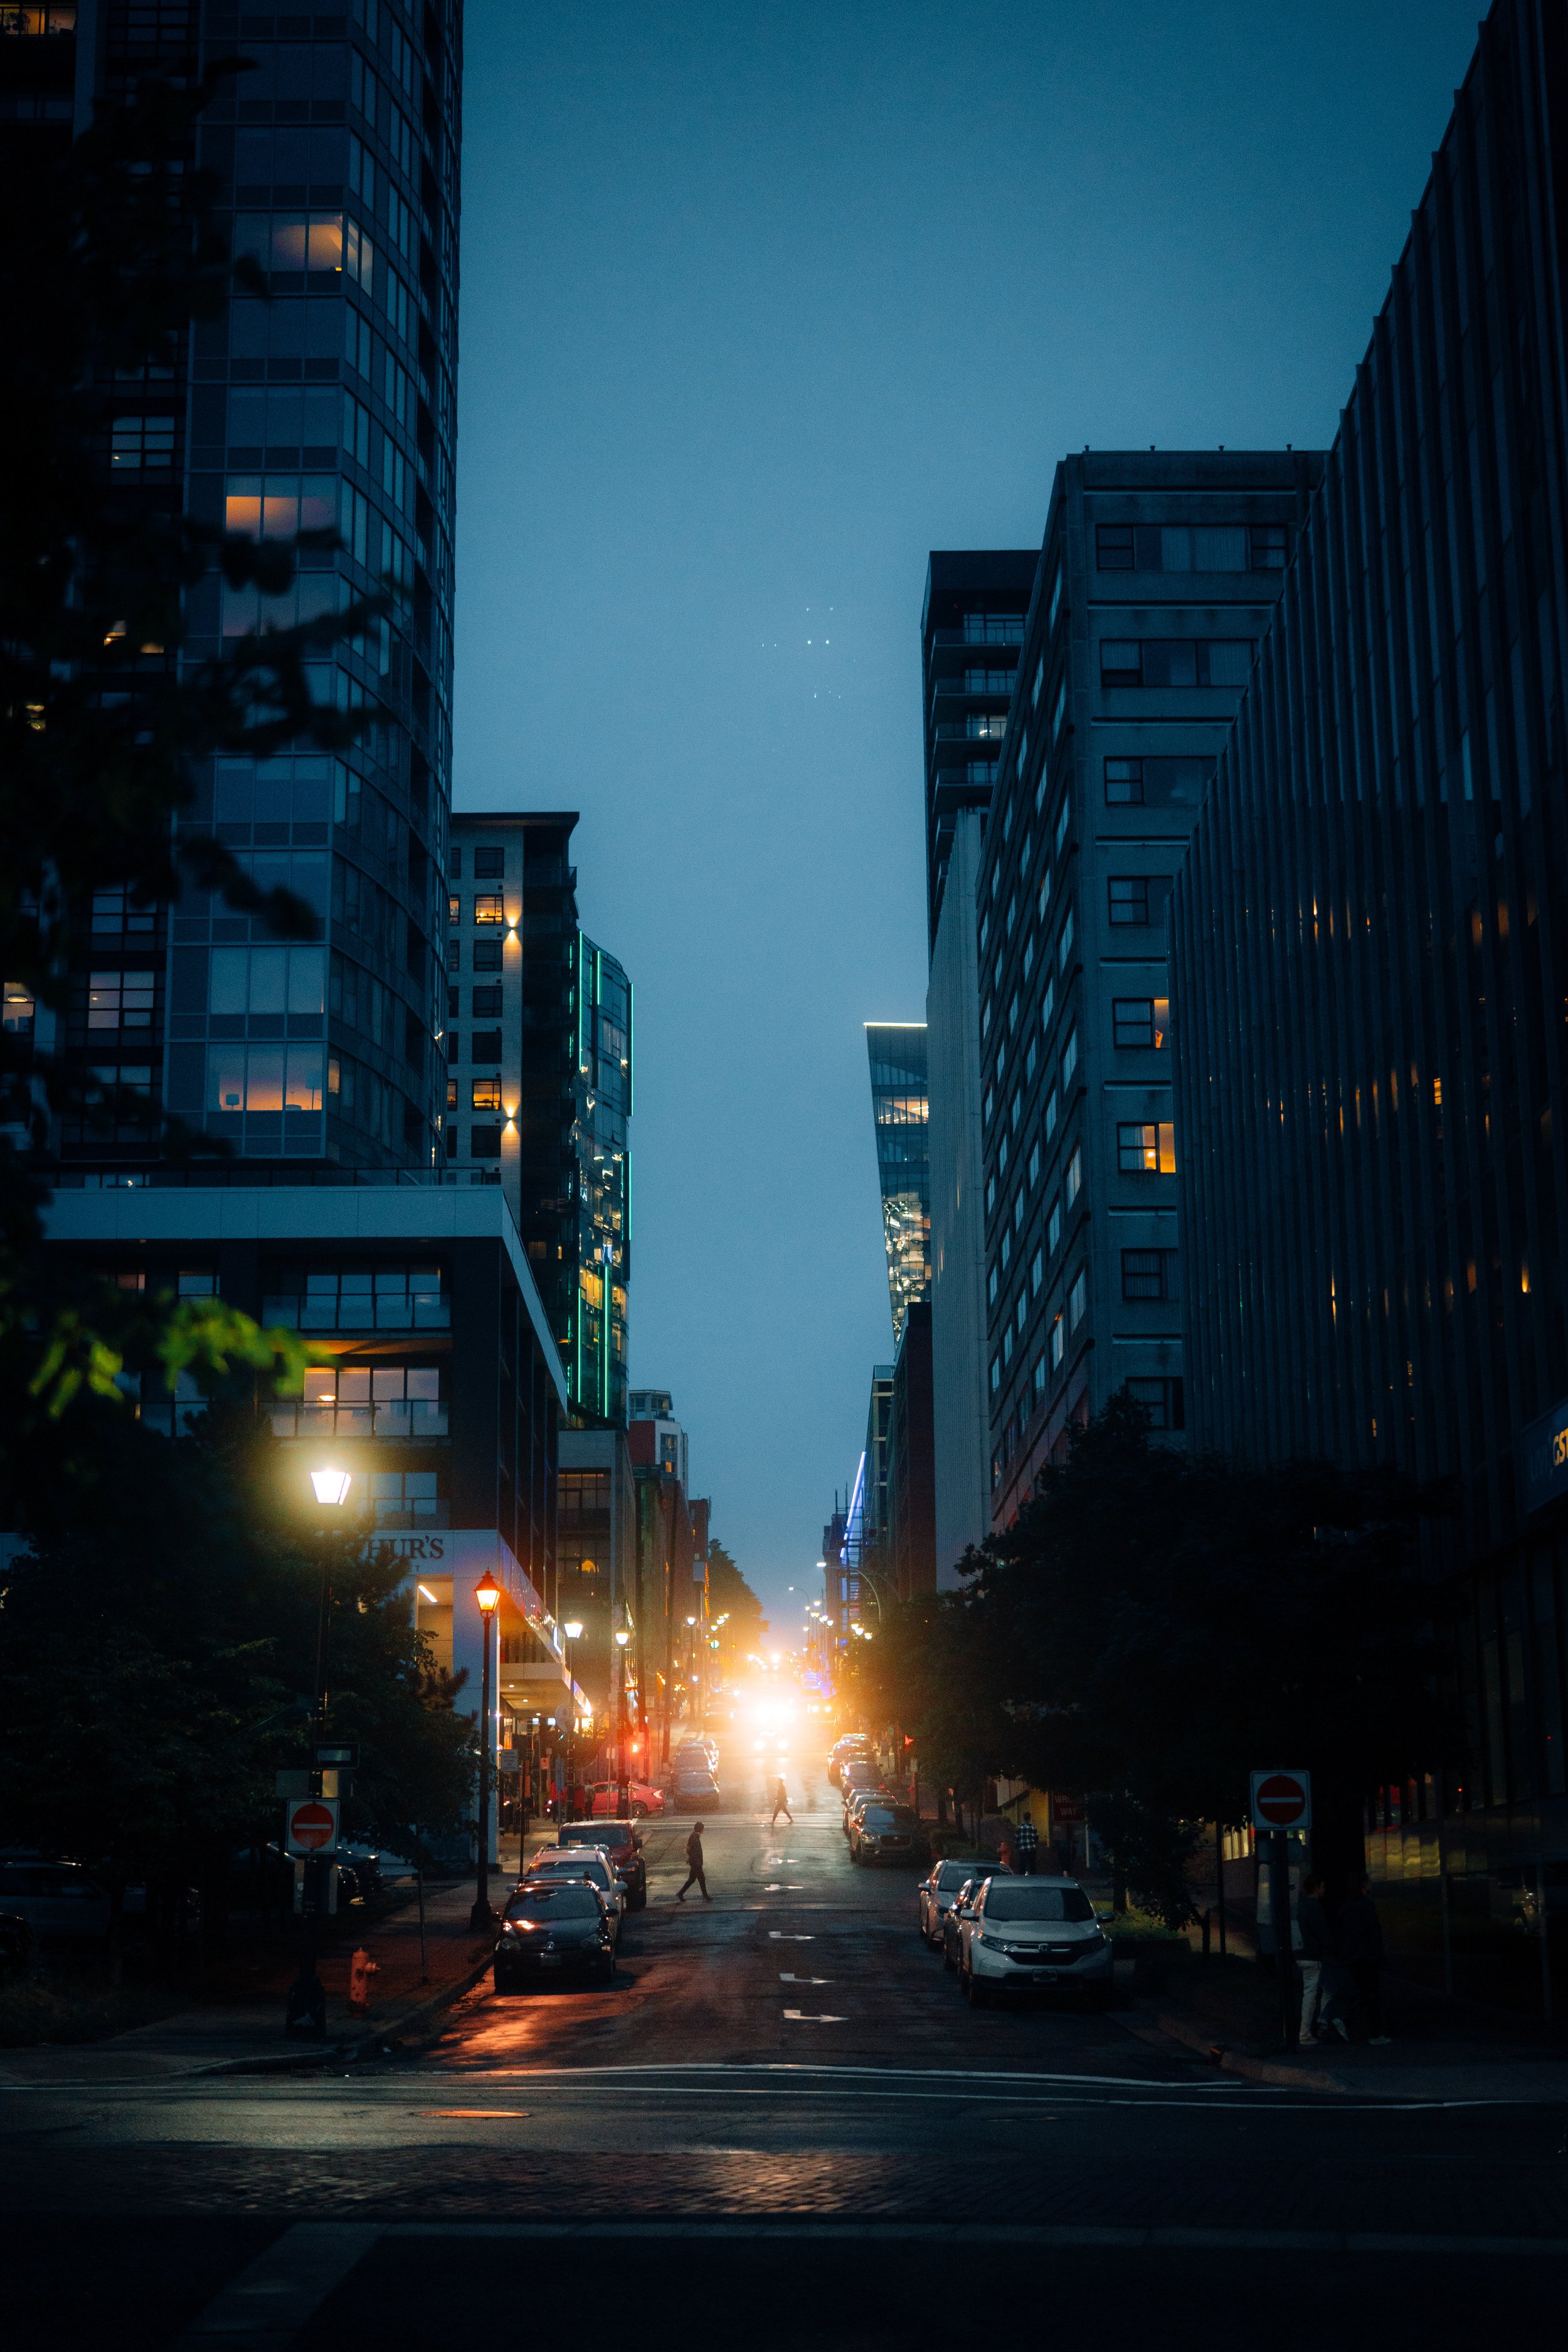

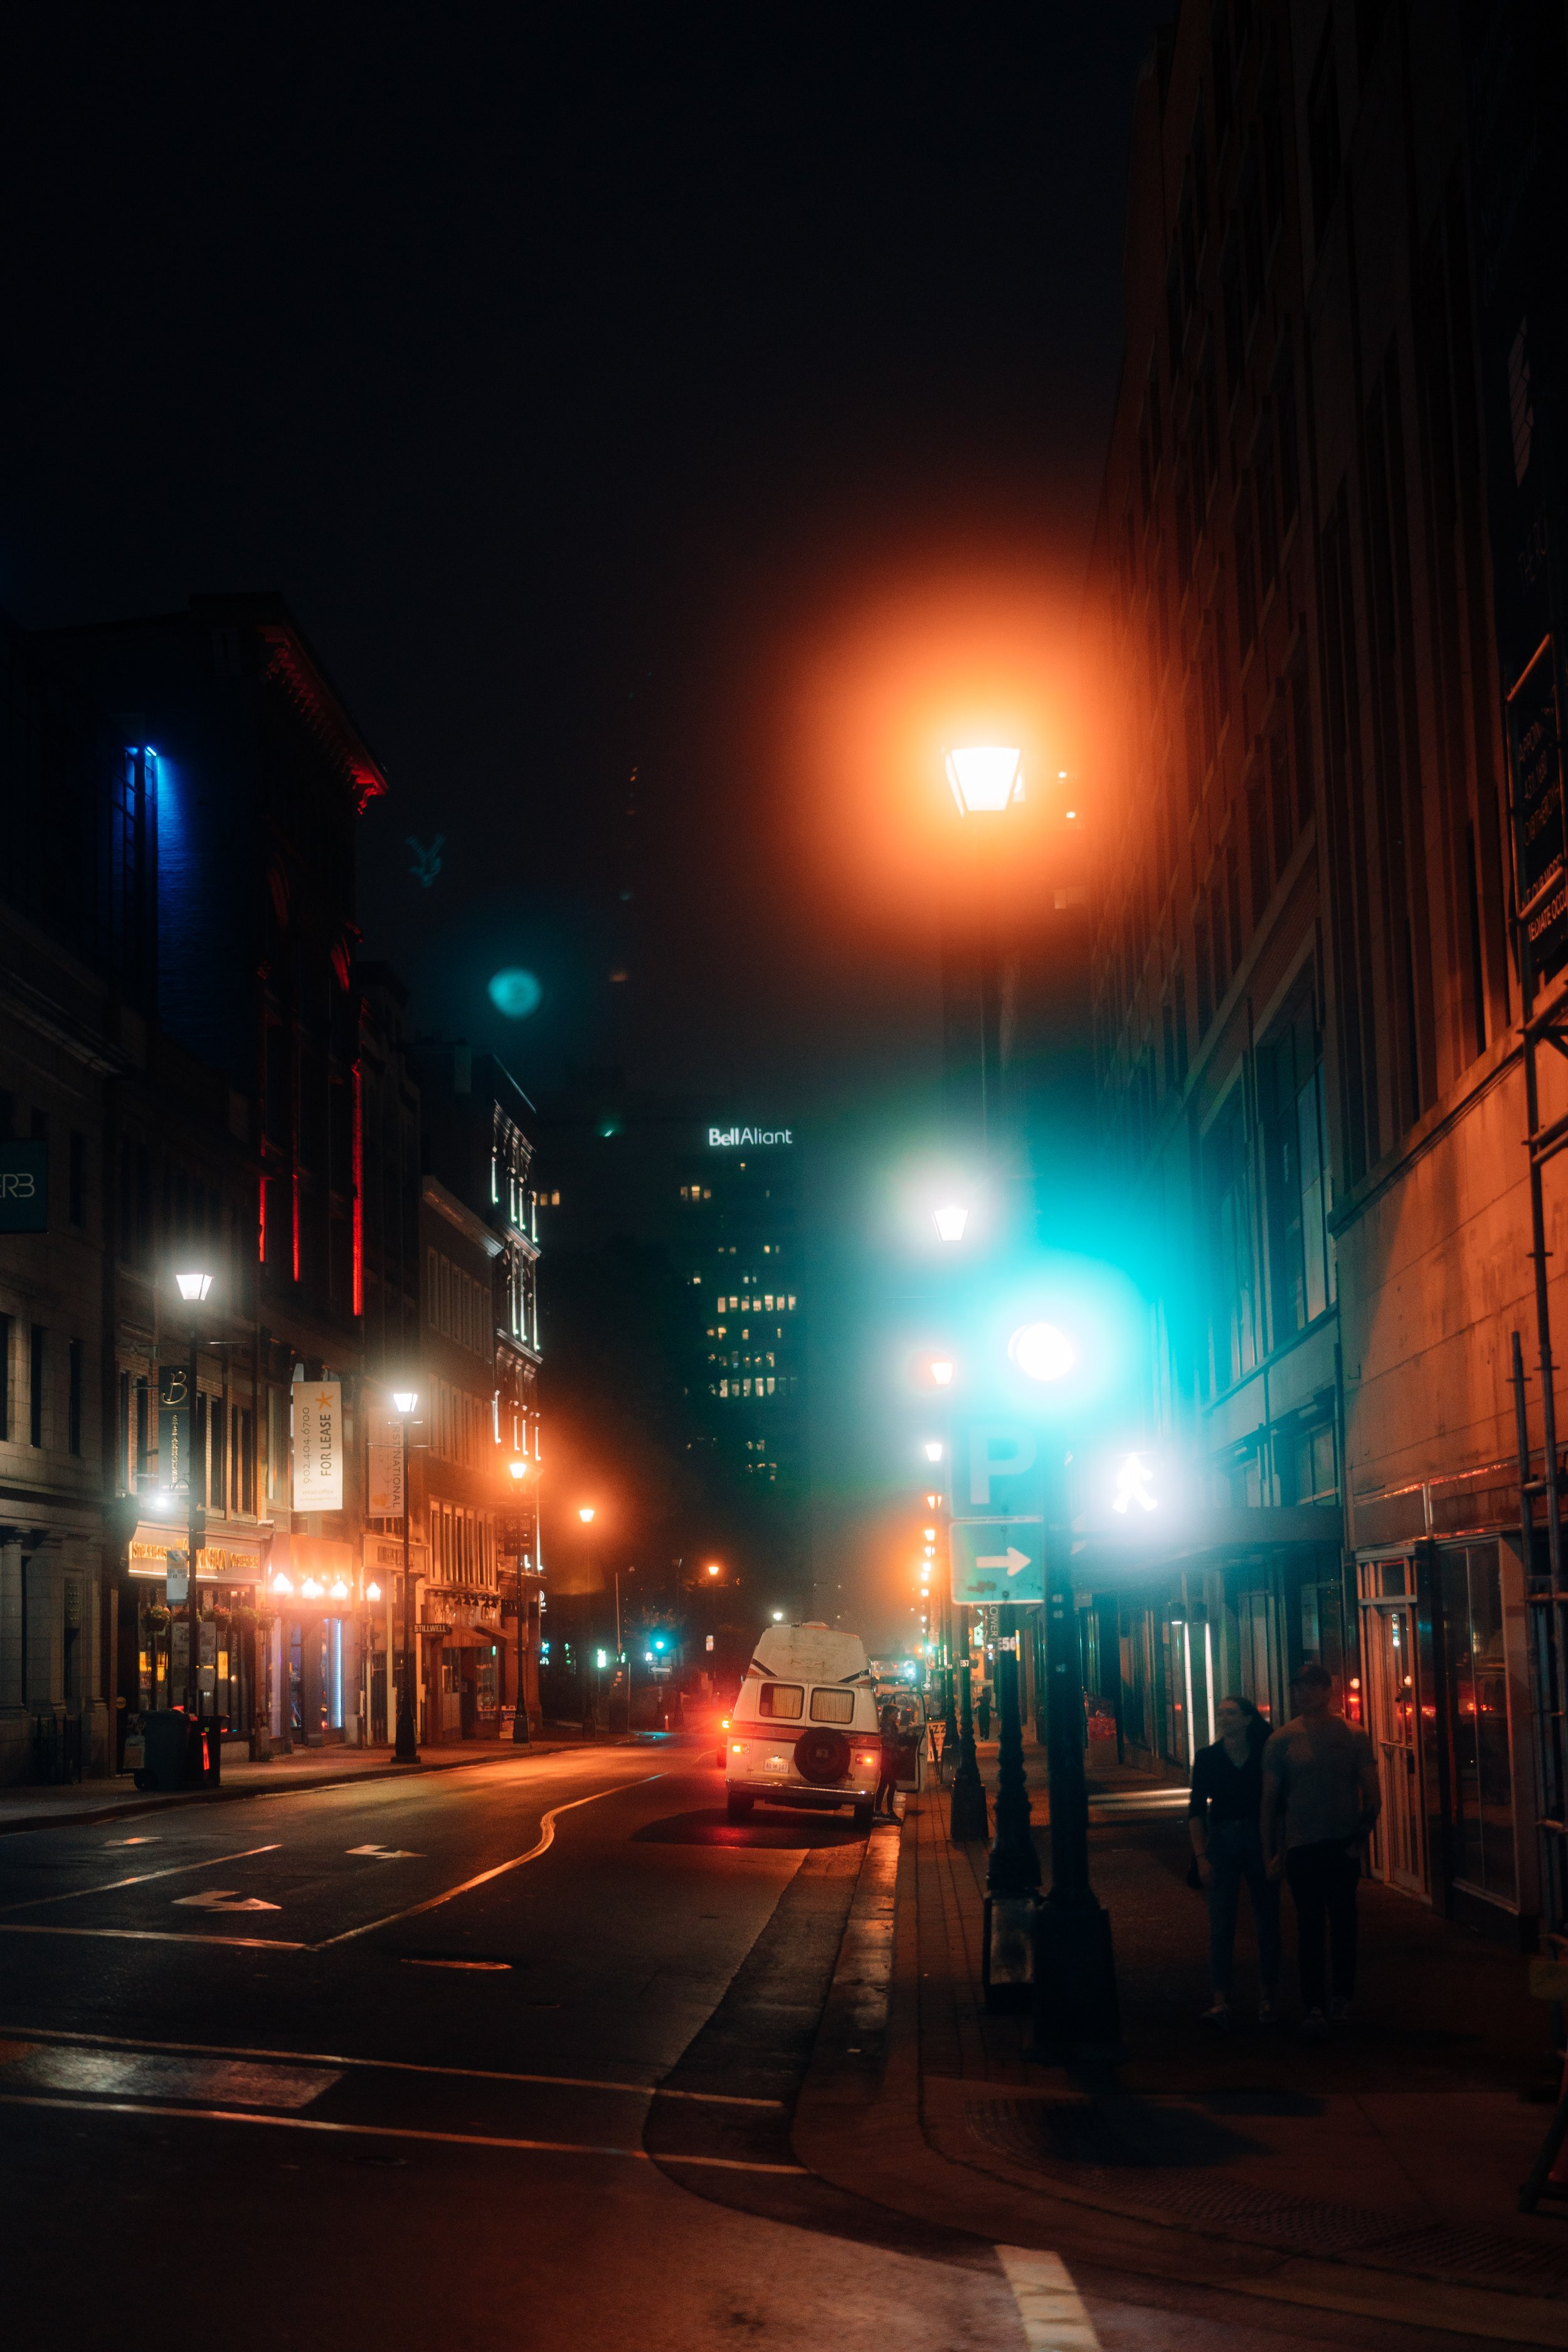
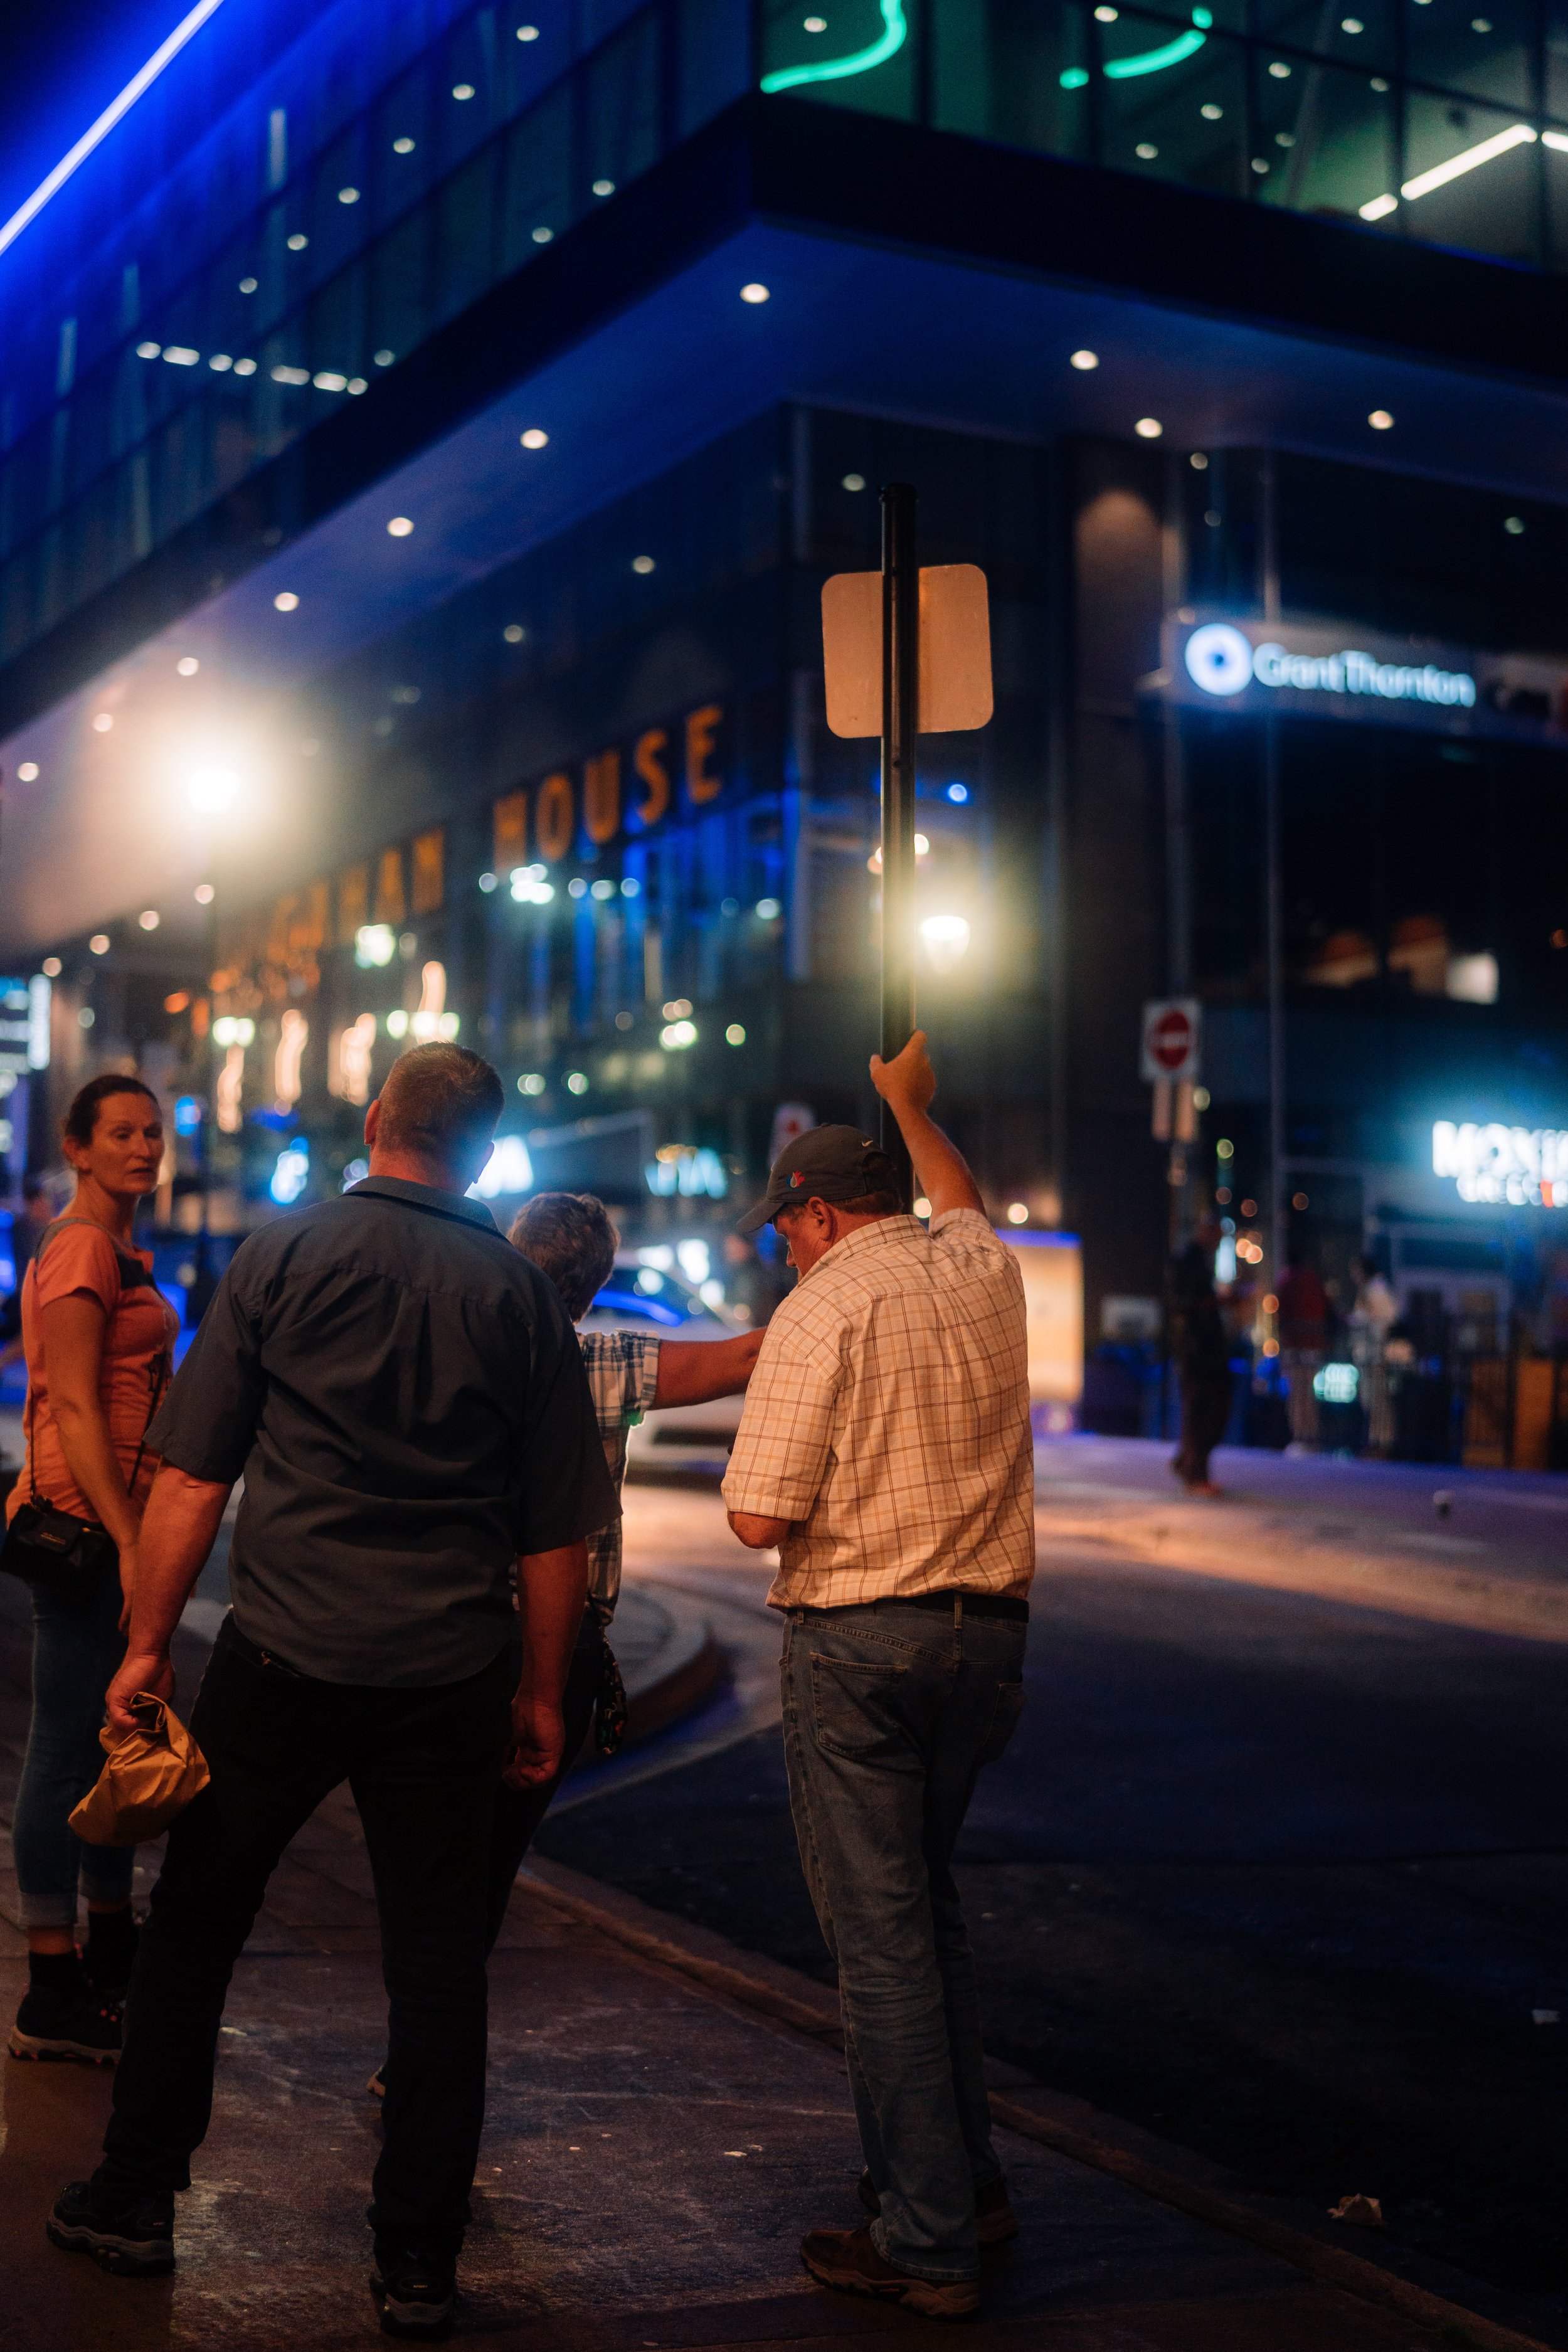
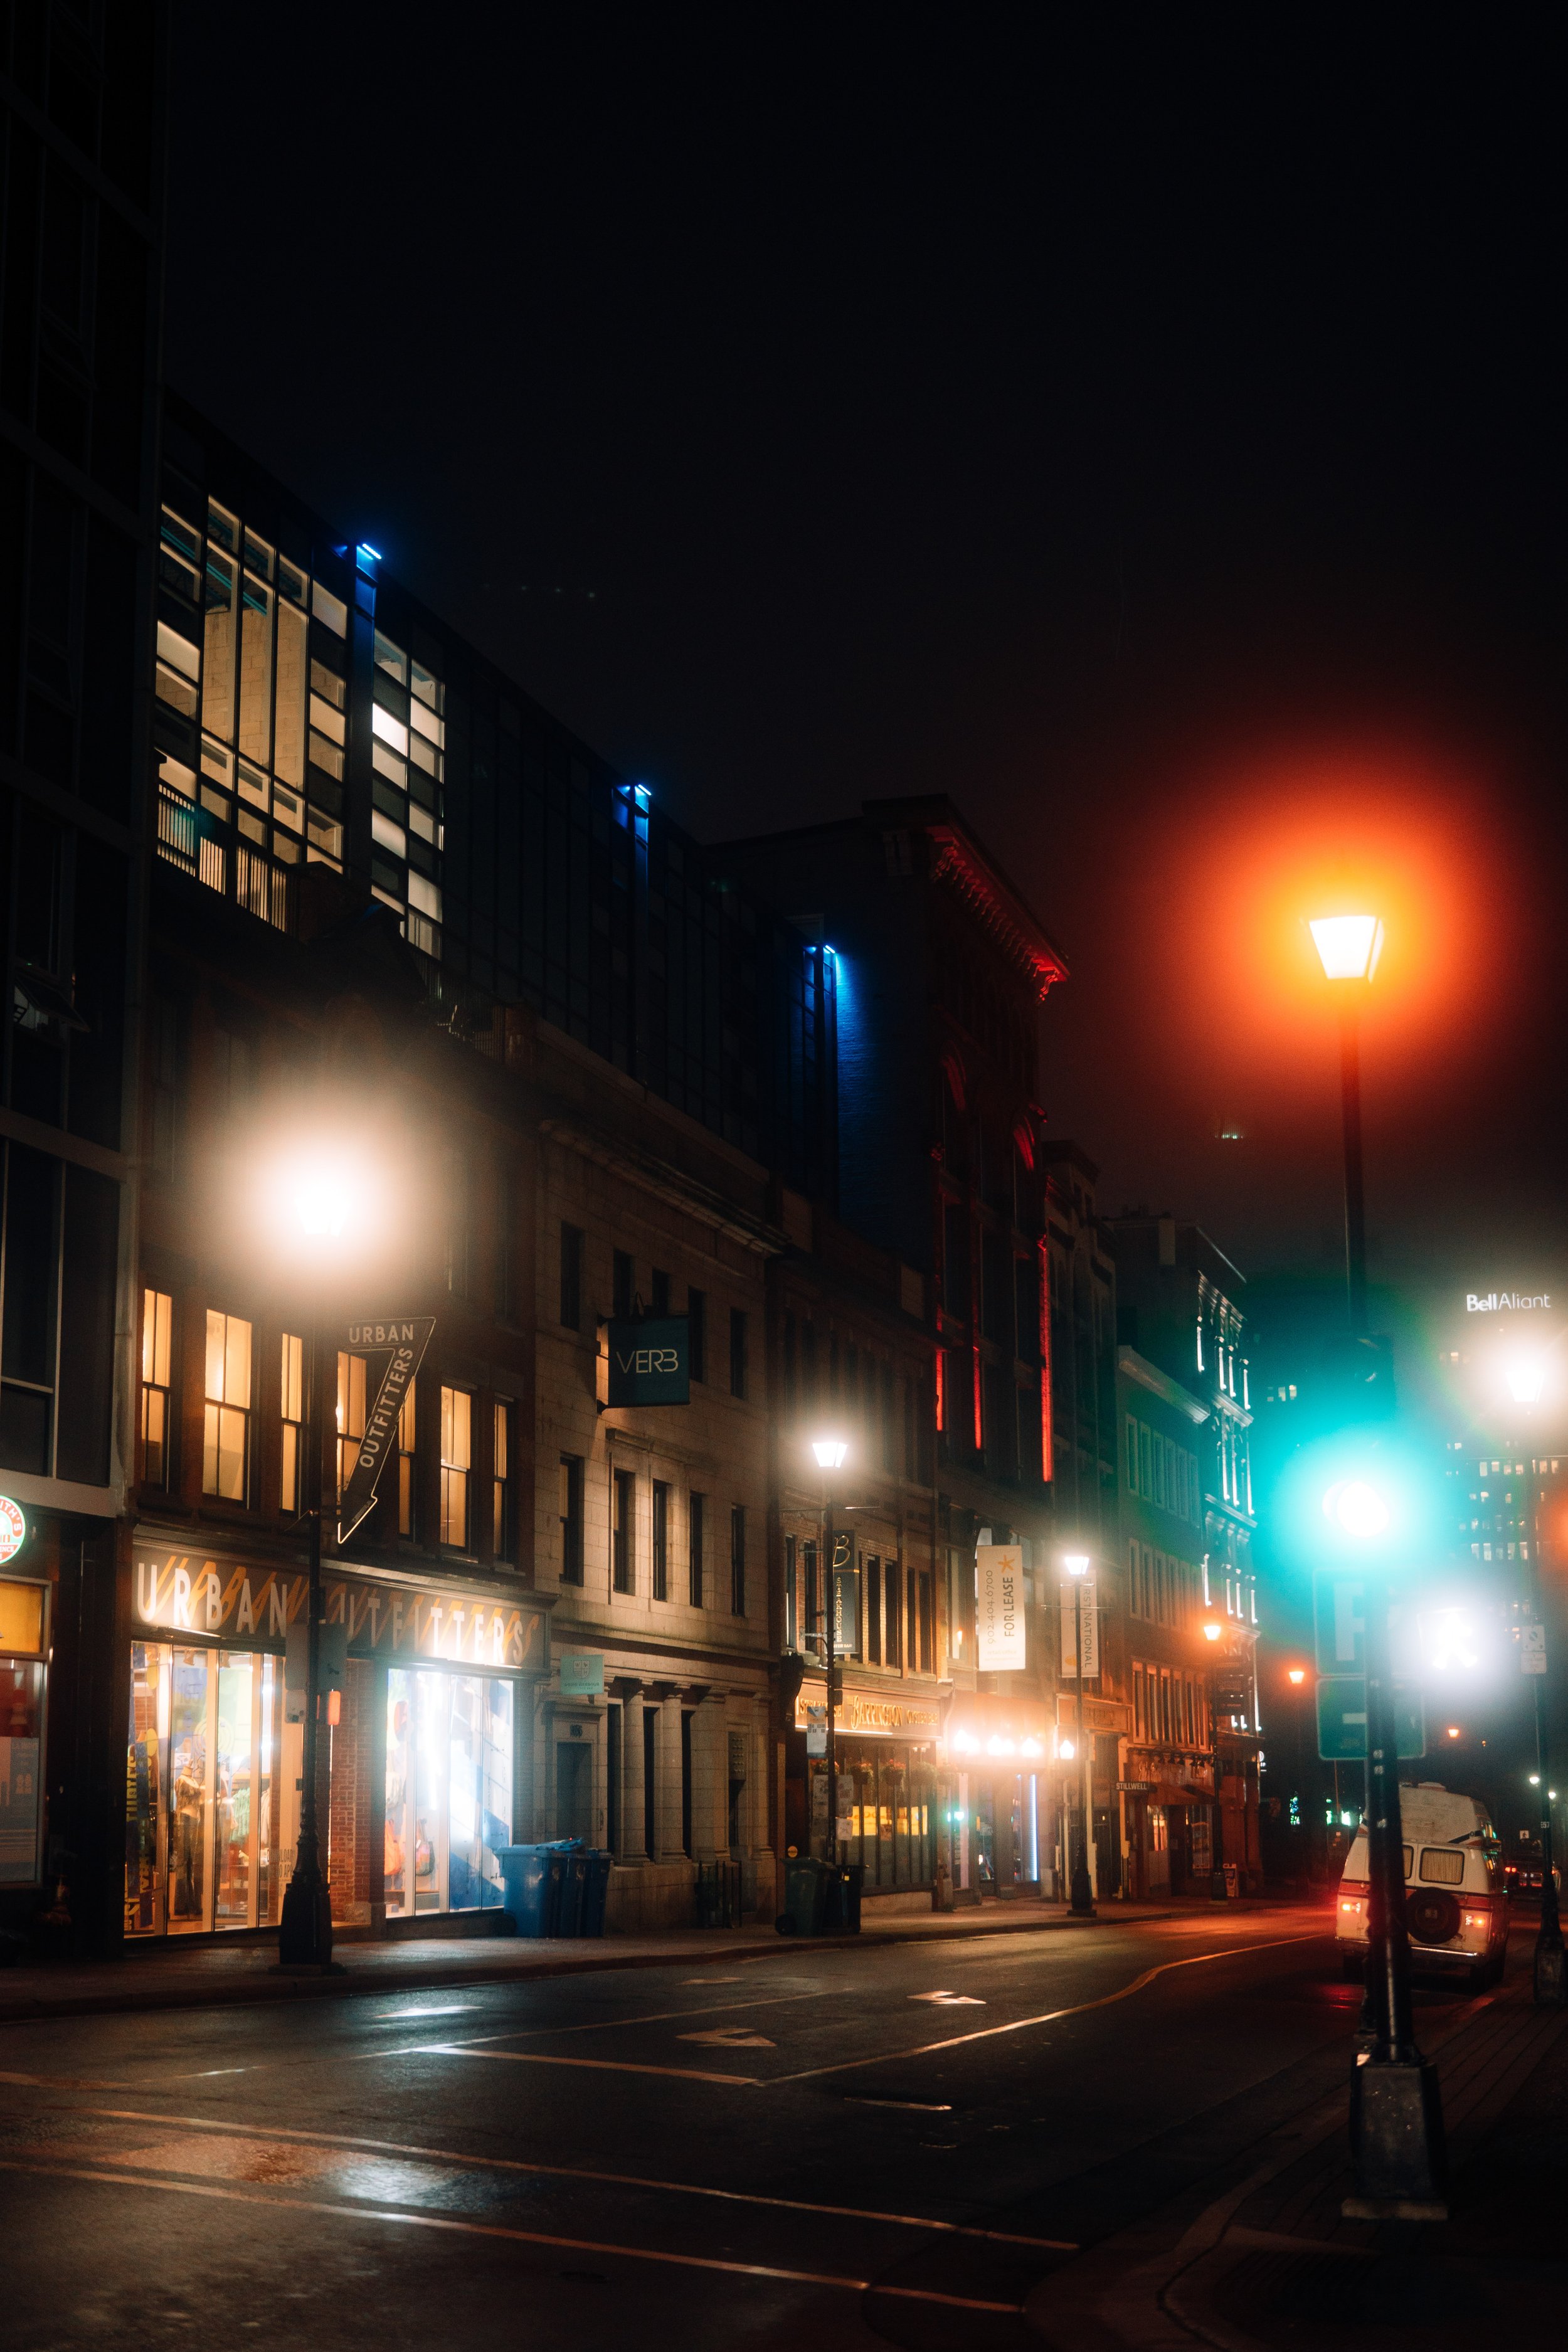
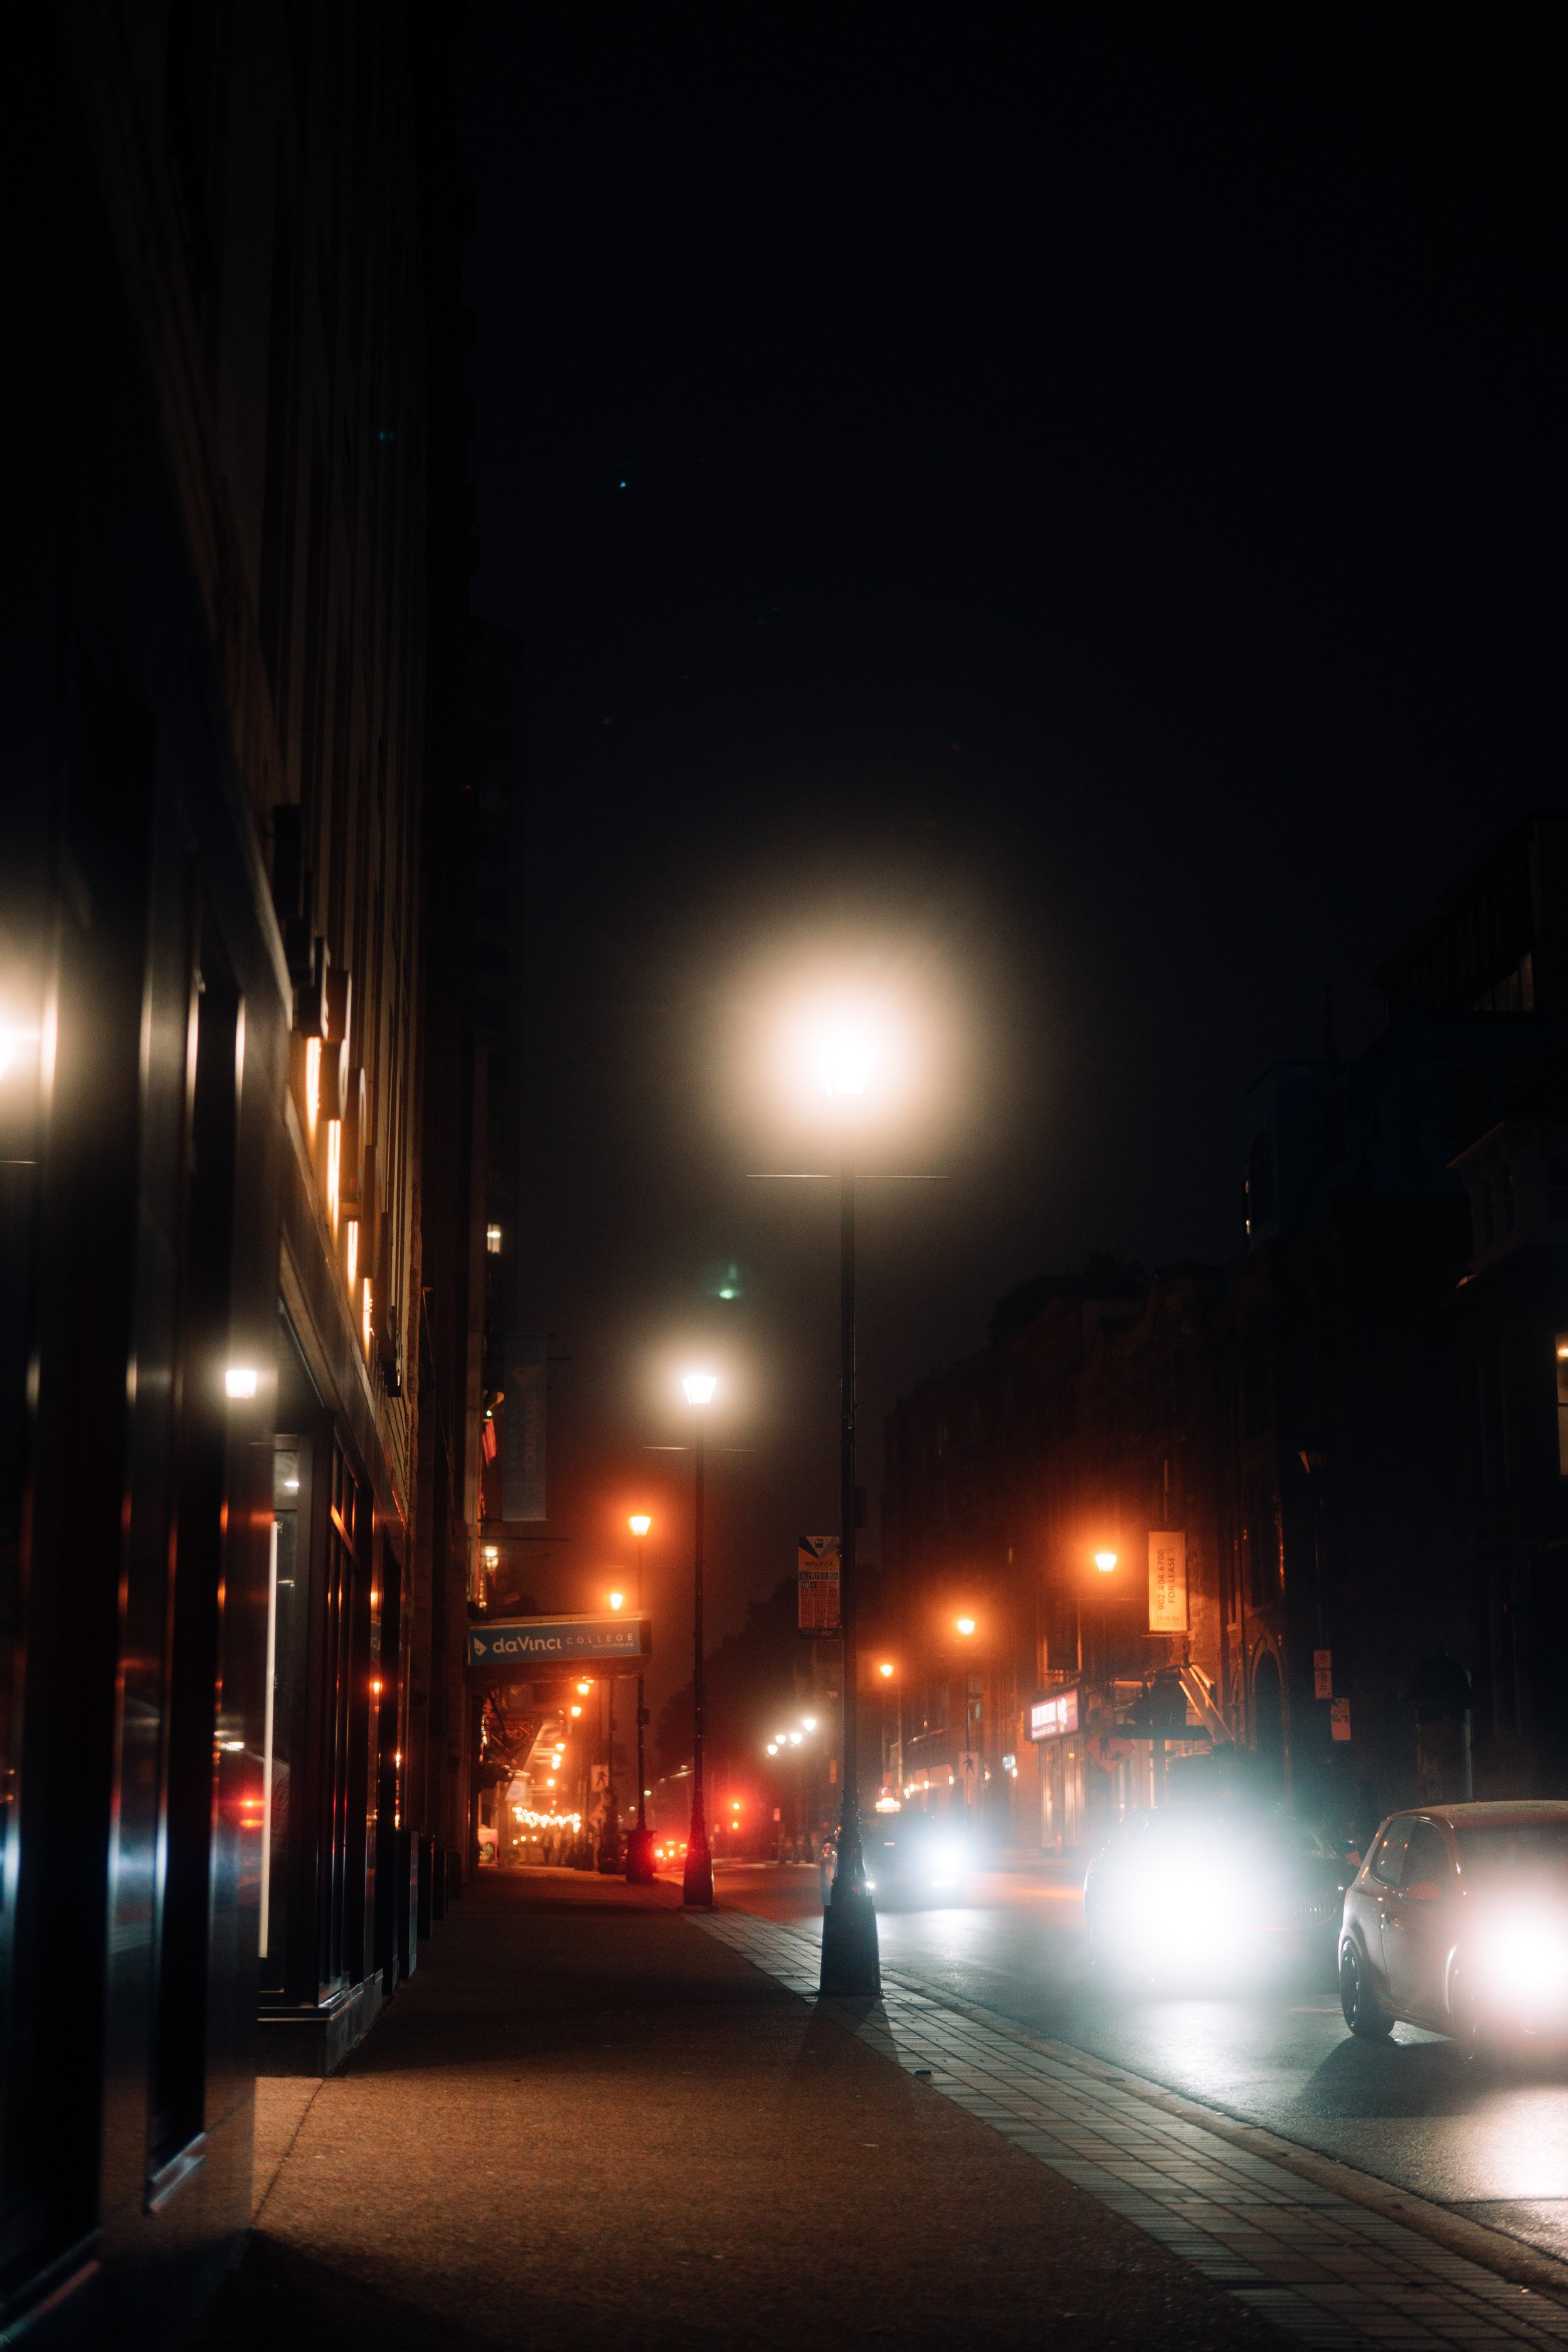
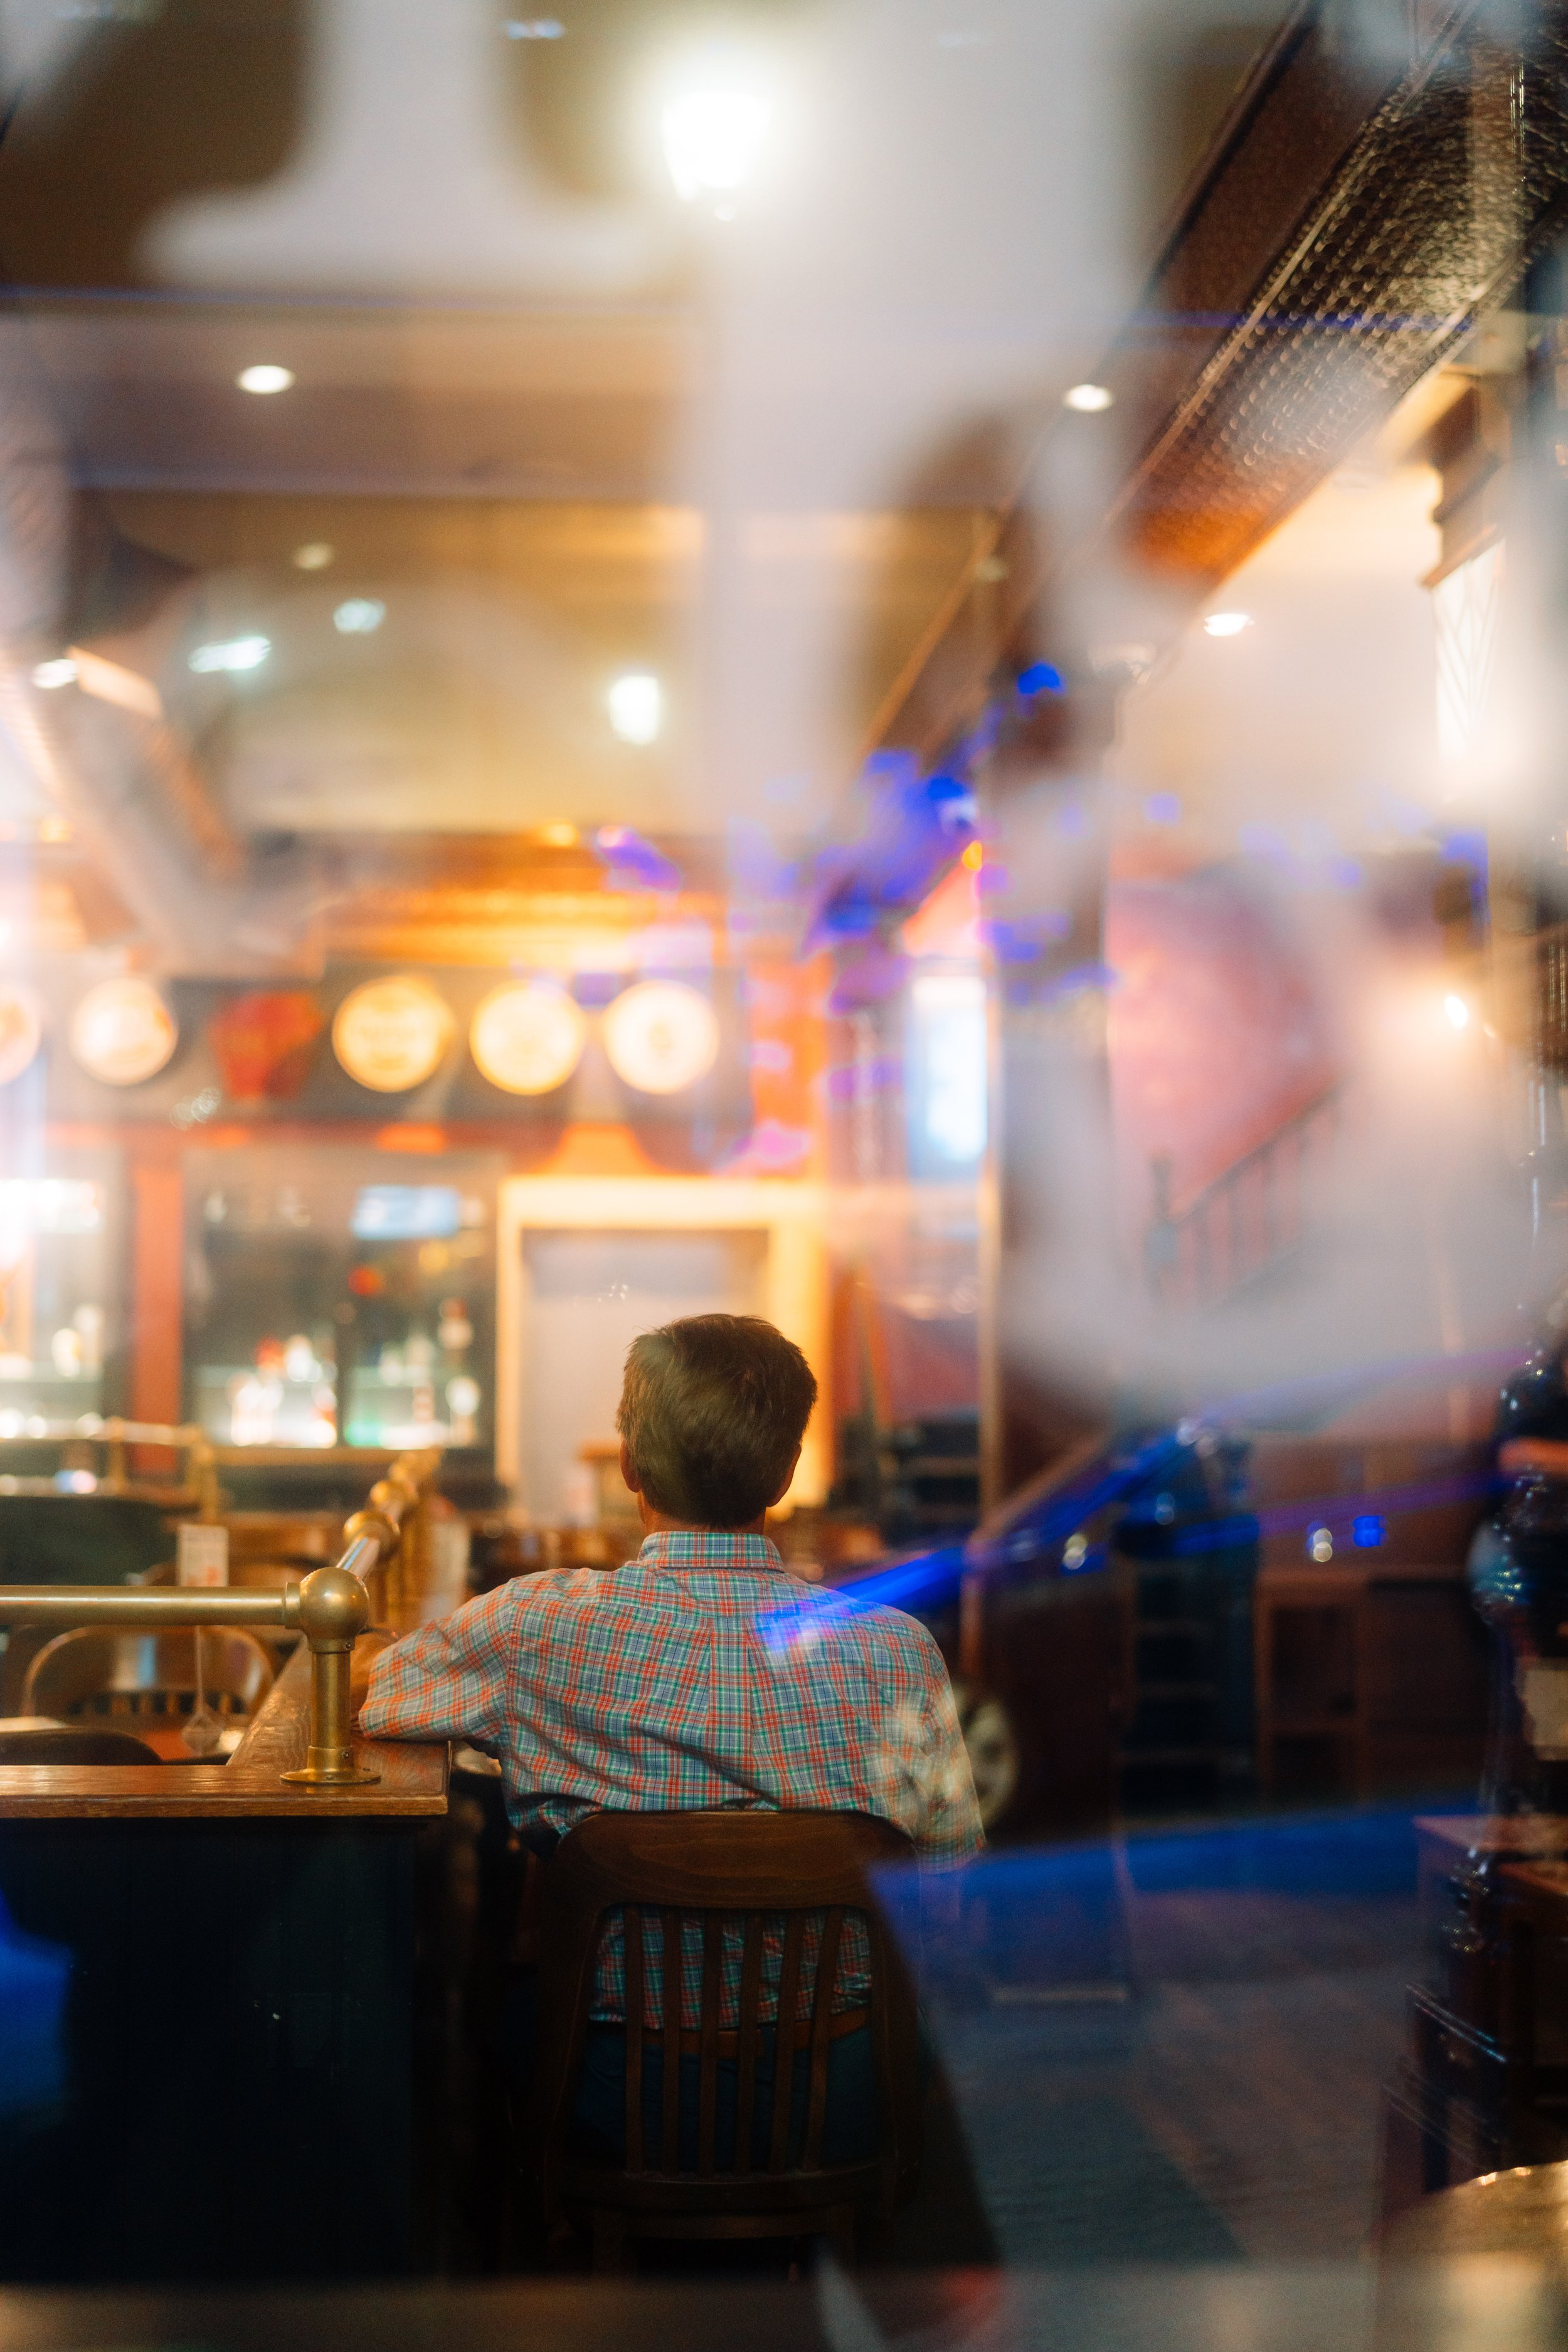
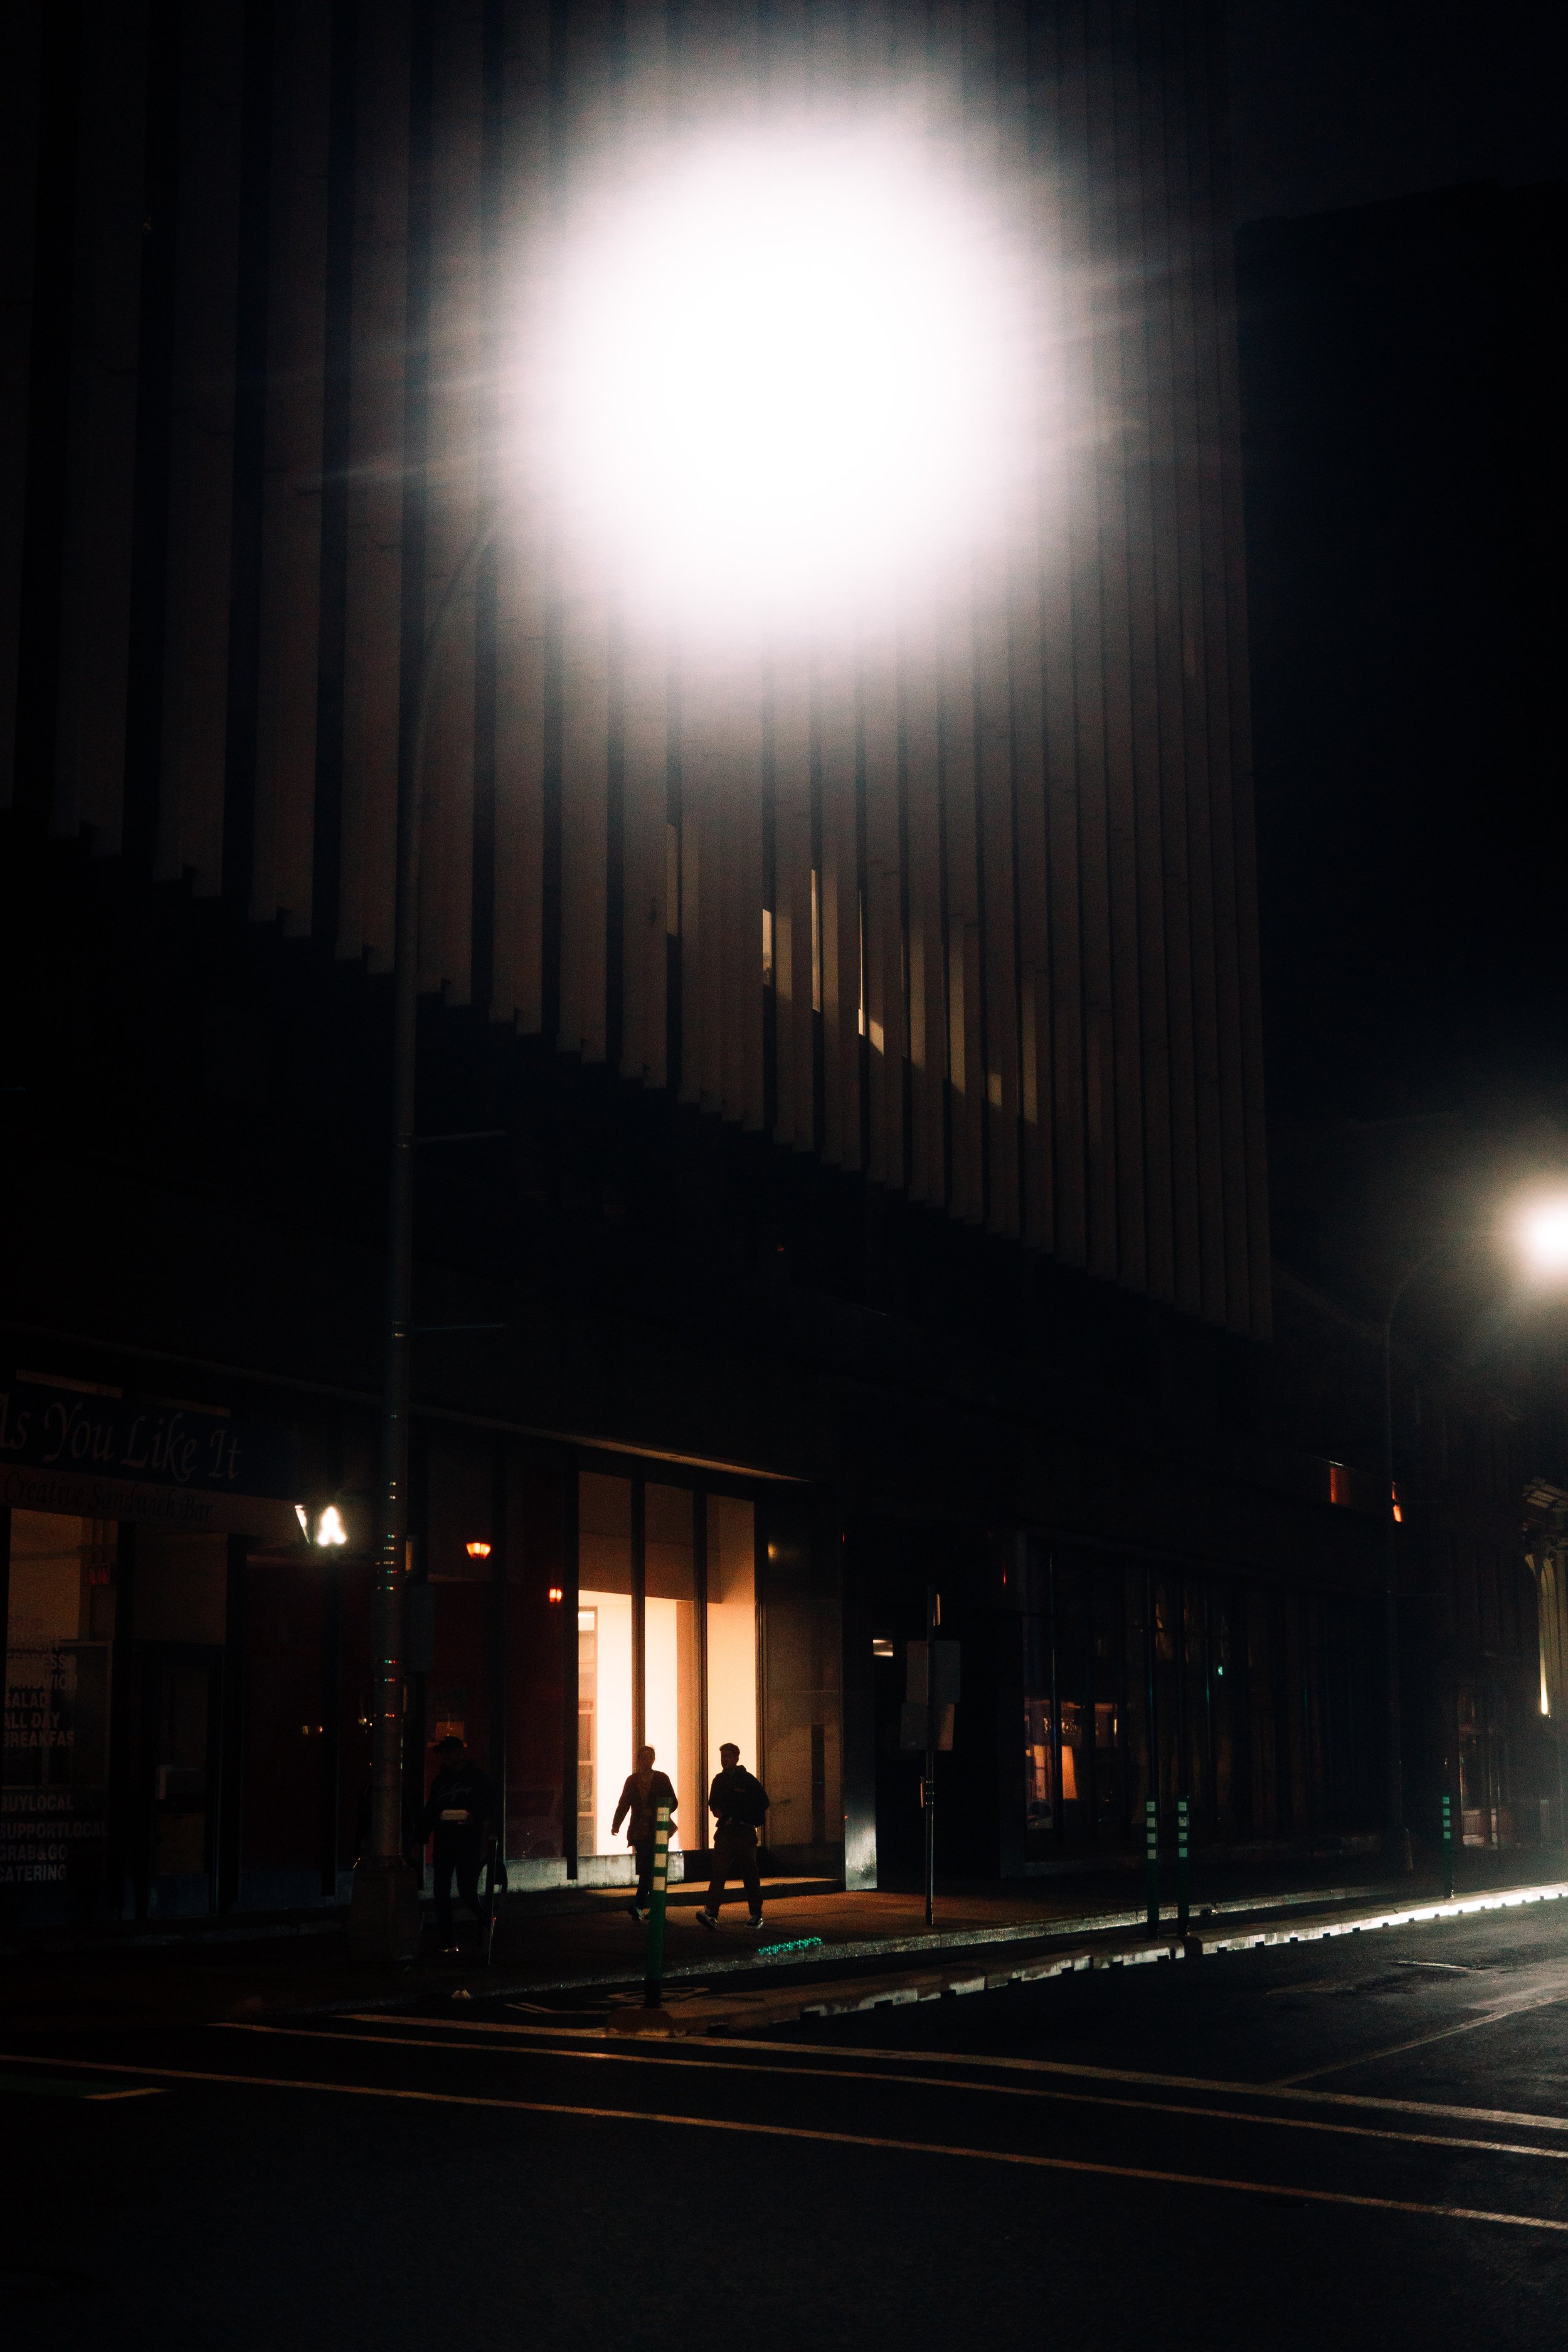
2. Find Good light.
This one seem pretty obvious but including more light in your frame will result in better settings in your camera. (lower iso or a higher shutter speed). This will make your shot either cleaner or sharper.
Good light can come in various forms. For example, shop windows/fronts, neon signs, street/traffic light, bus stations, advertising screens and many others.
If there is a subject in your shot try to have the light light up the subject on the side of the face, or at 90 degree angle in order to create more depth and let’s say a 3D style image.
Of course all this goes with practice, and seeing what works in different conditions or environments.

3. Stabilize your camera.
Some camera have something called IBIS in their sensors. This means that it stabilized. It works to remove the micro jitters that you give to the camera but it works only to certain extent and not all camera’s come with IBIS.
So to have a more stable shot you can use what we call a 3 point of contact technique with your body and the camera.
For example you try to use the viewfinder more and tighten up your elbows and breathe before taking a shot. This is starting to get physical but you know, it always works.
Now if your camera do not have a viewfinder, that’s ok too, you can then use what we call the 3 point contact method.
With the camera strap around your neck, push the camera forward causing tension in the strap. You will find that it is much more stable this way. This technique is often used to shoot handheld video. I find it works well with photography too.
If that’s not working, one last thing you can do to be stable, is to lean on something, a post, a wall or anything out there.
Of course this all means you are not using a tripod. The type of photography I am referring to does not usually use tripods. You can totally do so but I find it’s not a great fit for what I am trying to do.
There are much more tips and tricks that I could have included, but I find that the three I outlined above are the most important and the ones that will have the most effect on your photography. Honestly this is the way I go about night street photography these days. Of course, what works for me might not work for you and your style of photography or you might have your very own tricks you’ve picked up along the way. If you do something different, it does not mean you are wrong, these are just the little tips I come back to time and time again.
Thank you for watching!